![]()

{shinyalert} lets you easily create pretty popup messages (modals) in Shiny.
Modals can contain text, images, OK/Cancel buttons, Shiny inputs, and Shiny outputs (such as plots and tables). A modal can also have a timer to close automatically, and you can specify custom code to run when a modal closes. See the demo Shiny app online for examples.
Need Shiny help? I’m
available for consulting.
If you find
{shinyalert} useful, please consider supporting my work to
unlock rewards! ❤
![]()
This package is part of a larger ecosystem of packages with a shared vision: solving common Shiny issues and improving Shiny apps with minimal effort, minimal code changes, and straightforward documentation. Other packages for your Shiny apps:
| Package | Description | Demo |
|---|---|---|
| shinyjs | 💡 Easily improve the user experience of your Shiny apps in seconds | 🔗 |
| shinyscreenshot | 📷 Capture screenshots of entire pages or parts of pages in Shiny apps | 🔗 |
| timevis | 📅 Create interactive timeline visualizations in R | 🔗 |
| shinycssloaders | ⌛ Add loading animations to a Shiny output while it’s recalculating | 🔗 |
| colourpicker | 🎨 A colour picker tool for Shiny and for selecting colours in plots | 🔗 |
| shinybrowser | 🌐 Find out information about a user’s web browser in Shiny apps | 🔗 |
| shinydisconnect | 🔌 Show a nice message when a Shiny app disconnects or errors | 🔗 |
| shinyforms | 📝 Easily create questionnaire-type forms with Shiny | WIP |
Example 1: Simple modal
Example 2: Simple input modals
Example 3: Shiny inputs/outputs in modals
Example 4: Chaining modals

There are no sponsors yet
Become the first sponsor for {shinyalert}!
{shinyalert} uses the sweetalert JavaScript library to create simple and elegant popups (modals) in Shiny.
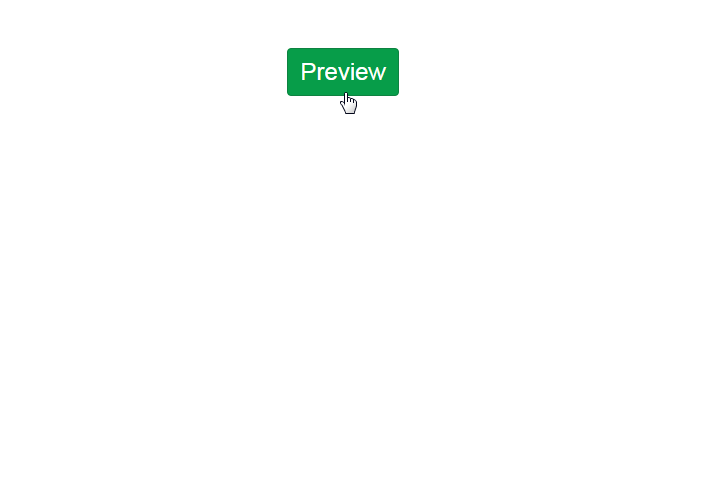
Simply call shinyalert() with the desired arguments,
such as a title and text, and a modal will show up. Here is a minimal
Shiny app code that creates a modal:
library(shiny)
library(shinyalert)

ui <- fluidPage(
  actionButton("preview", "Preview")
)

server <- function(input, output, session) {
  observeEvent(input$preview, {
    # Show a modal when the button is pressed
    shinyalert("Oops!", "Something went wrong.", type = "error")
  })
}

shinyApp(ui, server)To install the latest version from CRAN:
install.packages("shinyalert")Usually the purpose of a modal is simply informative, to show some
information to the user. However, the modal can also be used to retrieve
an input from the user by setting the type = "input"
parameter.
When using a type="input" modal, only a single input can
be used. By default, the input will be a text input, but you can use
other input types by specifying the inputType parameter
(for example inputType = "number" will expose a numeric
input).
While simple input modals are useful for retrieving input from the
user, they aren’t very flexible - they only allow one input. You can
include any Shiny UI code in a modal, including Shiny inputs and outputs
(such as plots), by providing Shiny tags in the text
parameter and setting html=TRUE. For example, the following
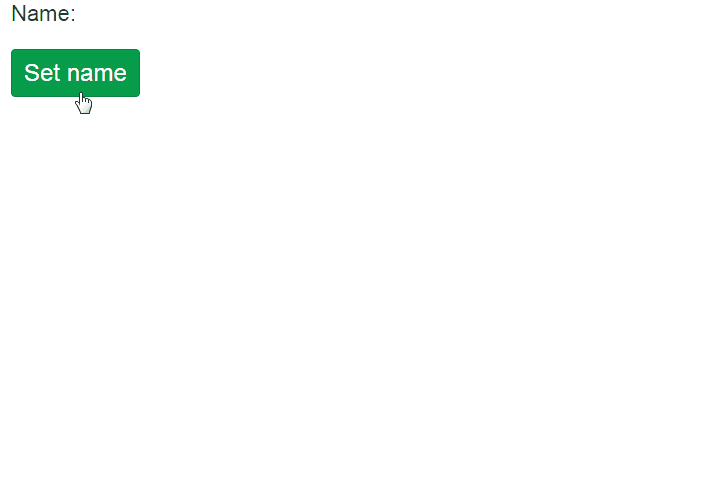
code would produce a modal with two inputs:
shinyalert(html = TRUE, text = tagList(
  textInput("name", "What's your name?", "Dean"),
  numericInput("age", "How old are you?", 30),
))Modals created with {shinyalert} have a return value when they exit.
When using a simple input modal (type="input"), the
value of the modal is the value the user entered. Otherwise, the value
of the modal is TRUE if the user clicked the “OK” button,
and FALSE if the user dismissed the modal (either by
clicking the “Cancel” button, using the Escape key, clicking outside the
modal, or letting the timer run out).
The return value of the modal can be accessed via
input$shinyalert (or using a different input ID if you
specify the inputId parameter), as if it were a regular
Shiny input. The return value can also be accessed using the modal callbacks.
The return value of the modal is passed as an argument to the
callbackR and callbackJS functions (if a
callbackR or callbackJS arguments are
provided). These functions get called (in R and in JavaScript,
respectively) when the modal exits.
For example, using the following {shinyalert} code will result in a modal with an input field. After the user clicks “OK”, a hello message will be printed to both the R console and in a native JavaScript alert box. You don’t need to provide both callback functions, but in this example both are used for demonstration.
shinyalert(
  "Enter your name", type = "input",
  callbackR = function(x) { message("Hello ", x) },
  callbackJS = "function(x) { alert('Hello ' + x); }"
)
Notice that the callbackR function accepts R code, while
the callbackJS function uses JavaScript code.
Since closing the modal with the Escape key results in a return value
of FALSE, the callback functions can be modified to not
print anything in that case.
shinyalert(
  "Enter your name", type = "input",
  callbackR = function(x) { if(x != FALSE) message("Hello ", x) },
  callbackJS = "function(x) { if (x !== false) { alert('Hello ' + x); } }"
)It’s possible to chain modals (call multiple modals one after
another) by making a shinyalert() call inside a
{shinyalert} callback or using the return value of a previous modal. For
example:
shinyalert(
  title = "What is your name?", type = "input",
  callbackR = function(value) { shinyalert(paste("Welcome", value)) }
)You can use {shinyalert} in Rmarkdown documents as well. This only
works in interactive Rmd documents (when runtime: shiny is
used in the YAML).
---
output: html_document
runtime: shiny
---

```{r}
library(shinyalert)

textInput("name", "Name")
actionButton("button", "Click me")

observeEvent(input$button, {
  shinyalert(title = "Hey", text = input$name)
})
```The first time a {shinyalert} message is shown, the required scripts are automatically inserted to the Shiny app. In real browsers (Chrome/Firefox/etc) this is not an issue, but in some contexts, such as inside RStudio’s Viewer on some operating systems, this can sometimes cause the modal to appear glitchy for a brief moment until the scripts load.
If you notice this behaviour and prefer to pre-load the scripts when
the Shiny app initializes, you can call
useShinyalert(force=TRUE) anywhere in the UI. Note that
calling useShinyalert() is NOT required.
Doesn’t Shiny already have support for modals?
Yes, it does.
And Shiny’s modals are just fine.
I created {shinyalert} for two reasons: first of all, I started working on it well before Shiny had modals. But I decided to keep working on it and release it even afterwards because I find {shinyalert} to be easier to use and to result in much nicer modals. There are also some extra features in {shinyalert}, such as the callback functions and the timer. But ultimately it’s a matter of convenience and aesthetics.
Logo design by Alfredo Hernández.